The new ClearCheck version, V1.7, suggests a simpler procedure for installing ClearCheck in order to ensure that your ClearCase environment is healthy. It takes only 3 minutes to install and receive a preliminary report!
Here are the 4 steps to follow after you download ClearCheck (To download the latest version: https://www.almtoolbox.com/download.php?did=1)
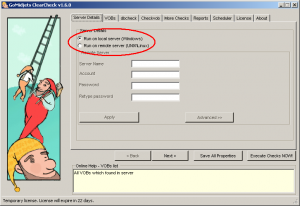
1. Select your VOB server access: local (for Windows server) or remote (for Linux or UNIX) server. In case of remote server, please enter hostname, account name that can access VOBs, password, press “apply”
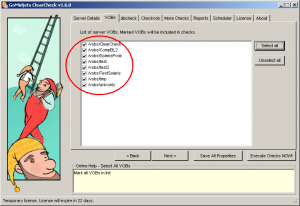
2. Select the VOBs that you want to be checked
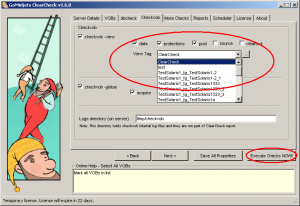
3. Select a view tag (ClearCheck automatically recognizes all views) to be a view-context for “checkvob” test.
4. Press the “Execute checks now” button.
Now ClearCheck will start working. Status messages will appear in the right bottom corner of your screen. Please be patient. The checks usually run for a few minutes, depending on the amount of VOBs that you’ve selected and their size.
After the checks are done, your browser will open automatically, displaying the final report. If any errors are found, there will be a blue highlighted line at the end of each error description, explaining how to solve the error. you will see a highlighted line at the end of each error, describing you how to solve that error.
After checks are done, your browser will be opened automatically with the final report. If you find any error, you will see a highlighted line in blue at the end of the error, describing you how to solve that error.
That’s all!
Remember, it’s a preliminary report. In order to gain maximum effect of ClearCheck and ClearCase checks, please read the full manual (it’s part of your installation kit) or consult our support team: support@almtoolbox.com


